Adding new members to your BacklinkCRM workspace allows you to collaborate with your team. Here’s how to do it:
Important Note on Member Creation:
#
The ability to create new members and the roles you can assign depend on your own role within the workspace:
- Owners can create new members and assign them the roles of Owner, Admin, or Member.
- Admins can create new members but can only assign them the roles of Admin or Member.
- Members can not create new members.
Steps to Add a New Member:
Step 1: Go to the Members Section: #
- Click on Members in the sidebar menu of your BacklinkCRM workspace.
Step 2: Click “Create Member”: #
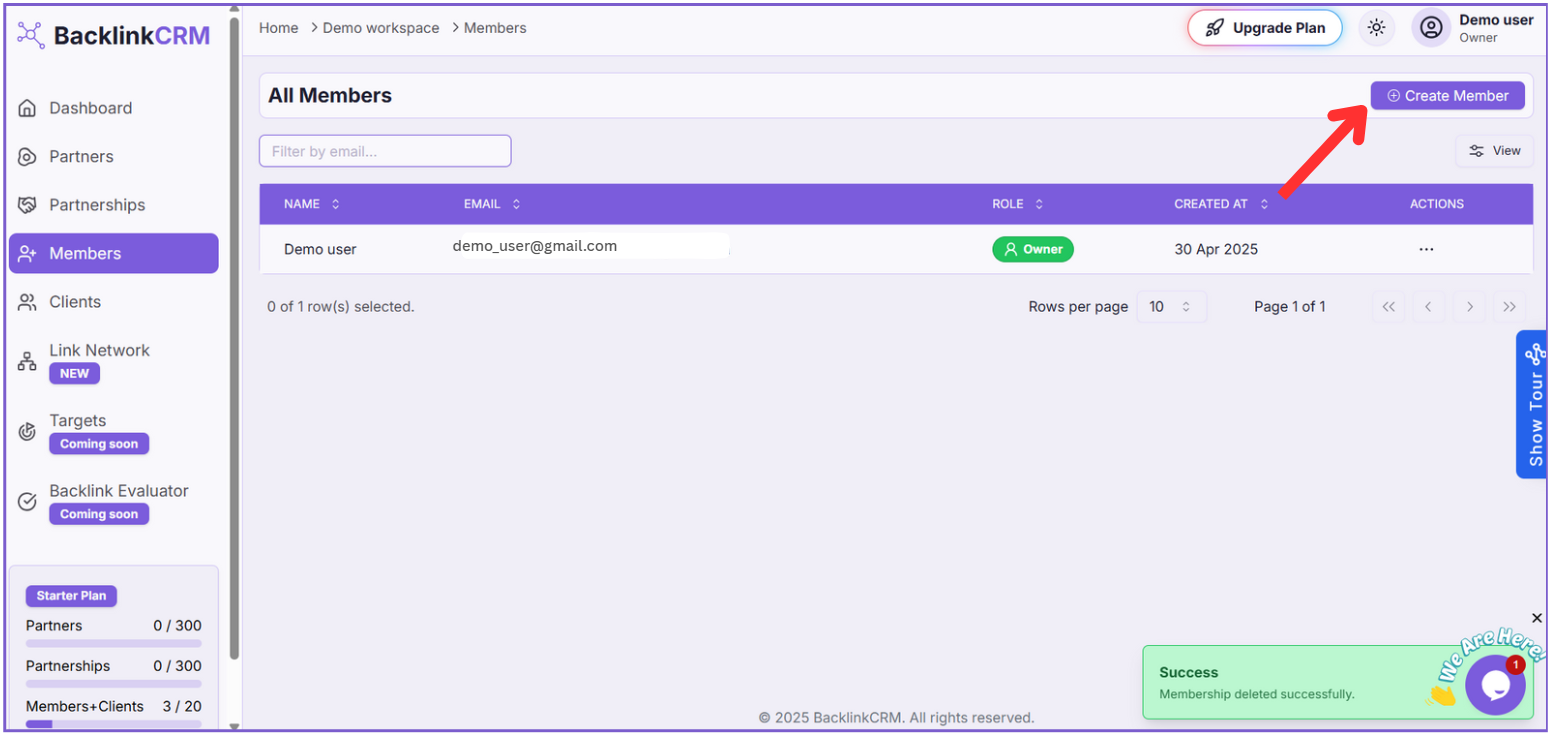
- On the Members page, you will find a Create Member button (the exact location and appearance might vary, but it’s typically prominent). Click this button to open the “Create Member” page.
Step 3: Fill in the Members Details: #

- Enter the Member’s Email:
- You will see a Member Details section. In the Email field (marked as 3 in the image), enter the email address of the person you want to add as a member.
- Select the Member’s Role:
- Click on the Role dropdown menu (marked as 4 in the image).
- From the dropdown list, select the role you want to assign to the new member (Owner, Admin, or Member).
- Remember the creation hierarchy mentioned in the Important Note above. The roles you are able to successfully assign here depend on your current role in the workspace. For example, if you are an Admin, you will see “Owner”, “Admin”, and “Member” in the dropdown, but attempts to create a new “Owner” will likely fail.
- Add the Member:
- Once you have entered the email and selected the role, click the Add Member button (marked as 5 in the image) located in the top right corner of the page.
- The new member will be added to your workspace, and they will likely receive an email invitation to join.
- Once you have entered the email and selected the role, click the Add Member button (marked as 5 in the image) located in the top right corner of the page.